
Last updated November 17, 2026
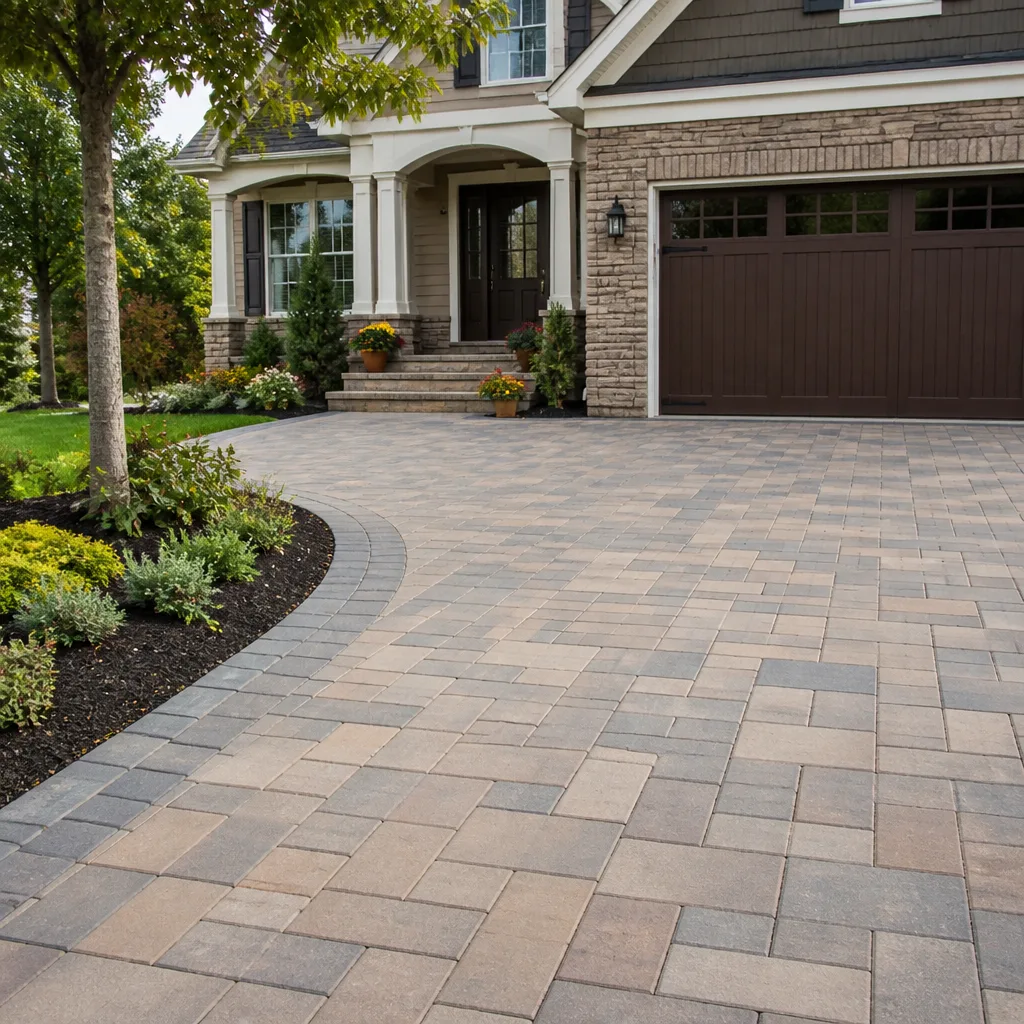 Driveway & pavers
 Kitchen remodeling
 Bathroom remodeling
 Home additions & ADU
 Roofing
 Windows & doors
 Fence
Free written scope consultation - allowances, timeline, and change-order rules on paper before a single trade is scheduled
Driveway & Pavers Maintenance Checklist for Westminster Homeowners
Most driveway pavers in Westminster aren’t damaged by what falls on them. They’re damaged by what’s underneath them. Local soil runs alkaline and holds moisture unevenly, so water wicks up and sideways through the base long before it ever shows on the surface. What looks like scuffed, faded pavers is often a base that’s been slowly shifting for a season or two. That distinction matters, because sealing a driveway with a base problem is money spent on the wrong fix.
We built this checklist around the cycle Westminster pavers actually move through: UV intensity, alkaline soil, and oil pooling that degrades sealer and joint sand on a schedule you can predict. Below you’ll learn how to tell surface wear from base failure, when re-sanding and re-sealing actually pay off here, and the warning signs that a paver issue has turned into a drainage problem for the whole property.
Quick Answer
A paver driveway in Westminster needs an annual check of joint sand and sealer, oil spot treatment before the dry season sets in, and a base inspection every few years to catch settling early. Polymeric joint sand degrades faster here than in milder climates because of sustained UV and heat, so re-sanding roughly every 12 to 24 months keeps the surface locked together. If pavers are heaving, rocking, or holding water after rain, the issue is the base and grading, not the surface, and a professional inspection is the right next step.
Styles & brands we work with
- Kitchen remodeling
- Bathroom remodeling
- Home additions & ADU
- Roofing
- Windows & doors
- Driveway & pavers
- Fence
Table of Contents
- Why Westminster Pavers Fail on a Different Schedule
- How to Tell Base Failure From Surface Wear
- The Westminster Maintenance Calendar
- Re-Sanding and Re-Sealing: The Annual Window
- Oil Stain Treatment and Sealer Adhesion
- When Pavers Signal a Drainage or Grading Problem
- A Step-by-Step Annual Inspection
- Repair, Re-Level, or Replace: How to Decide
Why Westminster Pavers Fail on a Different Schedule
Westminster sits inland enough that its summers are hot and dry, and that heat load hits pavers differently than the mild-coastal narrative most maintenance guides assume. The surface absorbs sun for long stretches, and the sand between pavers takes that heat directly. Polymeric joint sand is a binder-based product, and sustained UV exposure breaks down the binder over time. In a climate that keeps sun on the surface for more months, that breakdown runs ahead of the two-to-three-year expectation you’ll read in national guides.
Under the pavers, the local soil adds a second pressure point. Alkaline soil tends to hold minerals and moisture in ways that move water unevenly under the base. One section of driveway may stay damp longer than the next, and that uneven moisture causes uneven settling. A base that’s compacted and graded correctly handles it. A base that was thin or poorly drained when it was installed will show the first symptoms within a few seasons.
The third factor is vehicle oil. Westminster driveways see daily traffic from family cars, and oil drips pool in the joints and on low spots in the surface. Oil doesn’t just stain. It attacks the sealer film and the joint sand binder at the same spots over and over, so a driveway with two or three regular drip points degrades months ahead of the rest of the surface.
Put together, these three forces explain why the generic quarterly reminder list doesn’t fit here. A Westminster driveway needs attention timed to dry spells and UV peaks, not the spring/fall rhythm most checklists use. If your driveway is due for a full installation or overhaul, our driveway & pavers page covers base prep, grading, and material choice in detail.
How to Tell Base Failure From Surface Wear
This is the single most useful skill in this guide. Sealing a failing base wastes money and hides the problem for one more season. Diagnosing it early lets you fix the cause before the whole driveway needs re-laying. The good news is that the two problems look different once you know what to watch for.
Surface wear is cosmetic and even. The pavers may fade, the color may dull, joint sand may thin, and the sealer may look chalky or scuffed. But the surface stays flat and tight. Walk across it and nothing moves.
Base failure is uneven and structural. Watch for these signs:
- Rocking pavers: step on individual pavers in different spots. Any give underfoot signals a void in the base below.
- Heaving or lipping: one paver sitting noticeably higher than its neighbor, catching a shoe or a tire.
- Joint erosion in lines: sand washing out along the same stretch again and again, not scattered across the whole surface.
- Depressions that hold water: shallow puddles that stay for hours after rain and dry slower than the rest.
- Widening joints: gaps that keep opening up even after a fresh sand fill.
- Efflorescence in patches: white mineral bloom that appears in one area and keeps coming back after cleaning. This is a moisture signal from below.
Our rule of thumb: if the problem stays in one spot no matter how many times you fix the surface, it’s coming from the base. That’s when a professional inspection is worth the call. From the driveway to the roofline, Denali Contractors works on both the pavers and the drainage and grading around them, so you get one diagnosis and one accountable contractor.
The Westminster Maintenance Calendar
Most paver care guides split the year into spring and fall. That schedule is built for climates with a hard freeze and a wet recovery season. Westminster’s drivers are different: sustained dry heat for months, then a rainy stretch, then back to sun. The maintenance calendar should follow that rhythm.
Here’s how we structure it for local driveways:
- Late winter, before the dry season starts: full inspection. Walk the surface, check every joint line, look for rockers, lipping, and any low spots. This is the best time to catch damage because it hasn’t been baked into the sand yet.
- Early dry season, before UV peaks: clean, spot-treat oil stains, and apply fresh sealer if the surface is due. Sealer adhesion works best when the surface is fully dry and the base moisture has settled.
- Mid dry season: check for new oil spots under parked cars and clean them quickly. In the heat, oil sets into joint sand faster than most homeowners expect.
- After the first heavy rain: look for puddles, sand lines on the lower edge, and any joint line that has suddenly widened. Rain reveals grading problems that sun hides.
- Late in the year, before the next rain season: top off joint sand and address any drainage issues so water runs off the pavement rather than into it.
If your project is bigger than maintenance, or if the driveway’s base was never right in the first place, a proper rebuild may be the cheaper long-term path. One contractor handling pavers, grading, and the surrounding property means fewer trades to coordinate, which is exactly why we run home additions & ADU and exterior structural work under the same roof as hardscape.
Re-Sanding and Re-Sealing: The Annual Window
Re-sanding and re-sealing are the two maintenance tasks that matter most, and both are timed wrong by most homeowners here. The national advice says every two to three years. For a Westminster driveway with full sun exposure, the honest range is closer to every 12 to 24 months for joint sand, with sealer on a similar cycle.
When re-sanding pays off
Joint sand is the interlock between pavers. When it’s intact, the pavers act as one surface. When it’s gone, each paver works against its neighbor, and that’s when rocking and joint widening start. Polymeric sand is the right spec for Westminster because it sets harder and resists wash-out better than plain sand. But UV breaks down the polymer, so it needs topping off sooner than you’d expect. Any time you see joint gaps more than a finger-width wide, or a line of sand washed onto the grass after rain, re-sanding is due.
When re-sealing actually works
Sealer extends the life of joint sand and protects the paver surface from staining. It only works when it’s applied to a clean, dry surface in a dry forecast window. In Westminster, that means the dry season, not the rainy stretch. Applying sealer before a rain event or on a damp base is one of the fastest ways to waste money, because the film won’t bond and the first heavy rain lifts it back off.
Signs a re-seal is due:
- Water stops beading on the surface and soaks in immediately
- The pavers look chalky or dull, with color noticeably faded compared to when new
- Oil stains no longer wipe up easily with a spot cleaner
- Joint sand is thinning, and you’ve already re-sanded recently
Sealer applied at the wrong time of year is worse than no sealer. Get it right once and you’ll save the cost of a premature re-do.
Oil Stain Treatment and Sealer Adhesion
Oil stains are more than a cosmetic problem. They eat the sealer film and the joint sand binder at the exact spots where cars park every day. In Westminster, where the dry season bakes oil into the surface and then the first rain spreads it into the joints, treating oil stains on schedule is one of the highest-return maintenance tasks a homeowner can do.
Timing matters. The best window to treat and re-seal is the dry season, when the surface is fully dry and the forecast is stable. Oil that’s been sitting through a hot stretch has usually soaked deeper into the paver, so the earlier you get to it the cleaner the result.
A simple sequence that works:
- Blot fresh drips immediately. Kitty litter or an absorbent pad lifts most of it before it soaks in.
- Clean before sealing. A dedicated paver degreaser, applied and scrubbed to the manufacturer’s directions, gets the residue up.
- Let it dry completely. This is the step most homeowners skip. A paver that’s still damp at the joint won’t take sealer evenly, and the film will fail at that exact spot.
- Re-seal in the dry window. Match the sealer product to the paver material and finish, and apply when the forecast shows no rain for at least a day.
If oil is coming from a car that parks in the same spot every night, a drip tray under the engine is worth the small cost. It stops the cycle that keeps damaging the same square footage.
When Pavers Signal a Drainage or Grading Problem
A paver issue that keeps coming back in the same place is usually a drainage signal. Water is meant to run off the driveway toward a drainage point, not sit on top or soak into the base. When the grade is flat or slightly wrong, water pools and the base below starts to soften and settle.
These warning signs mean the problem has moved past the paver surface and into the property around it:
- Water puddling against the house or garage slab. This is the one to treat as urgent. Standing water next to a foundation or slab wall will find its way in eventually, and it will also erode the soil around the perimeter.
- A low spot that reappears after every wet season and needs sand topped off each time. That pattern is the base settling, not the sand disappearing.
- Sand washing onto the lawn, sidewalk, or storm drain. Joint sand leaving the driveway in sheets is a sign of missing interlock and often a grading problem feeding it.
- Pavers pulling away from a retaining wall, step, or edge restraint. That shift usually means the base has moved under pressure from water.
- Settlement dips along the perimeter where the driveway meets soil or a walkway. Water wicks into those seams and starts working under the pavers.
If any of these sound familiar, the fix involves regrading and re-compacting the base, not just sealing. That’s the kind of work where a proper inspection saves you from spending money twice, and it’s the reason we look at grading and drainage around the property before recommending a paver repair. Fences can be affected too, since water pooling along a driveway edge often reaches a fence line. Our fence installation page covers what a proper fence footing looks like when a driveway runs beside it.
A Step-by-Step Annual Inspection
Set aside an hour once a year, at the start of the dry season, and walk your driveway in this order. You don’t need any special tools beyond a hose, a broom, and a careful eye. Keep a note of what you find so you can compare next year.
- Walk the surface from edge to edge. Step on every paver along the main drive path. Any paver that rocks or gives is a base concern, not a surface one.
- Look down every joint line. Note width, missing sand, and any line where the joint has opened up more than the ones around it.
- Check the low spots. Run a hose over the driveway for a minute or two, or wait for the first rain. Mark where water stays pooled after 30 minutes.
- Check under the parked cars. Look for fresh oil drips and old stains. Treat any fresh spot within the week.
- Walk the perimeter. Where the driveway meets the house, garage, walkway, soil, or fence, look for settling, gaps, or erosion.
- Look for efflorescence. White bloom on one area that comes back after washing is a moisture signal. It means water is moving where it shouldn’t.
- Test the seal. Drip a little water on the surface. If it beads, the sealer is working. If it soaks in, it’s due for re-sealing.
- Write down what you found. A year-over-year note is the fastest way to tell surface wear from base failure before you spend money.
This inspection won’t catch everything, and it isn’t designed to. It catches the seven or eight things that account for most premature paver wear. Anything structural or safety-related is a professional call.
Repair, Re-Level, or Replace: How to Decide
Once you’ve found a problem, the next question is whether to patch it, re-level a section, or rebuild. Here’s how we think about the decision, and the pricing to expect.
Local costs vary by material, square footage, and base condition. Typical ranges for Westminster driveway and paver work look like this:
| Job type | Typical estimated range |
|---|---|
| Re-sand joints (residential driveway) | $250 to $600 |
| Re-seal (residential driveway) | $350 to $900 |
| Oil spot treatment and cleaning | $150 to $400 |
| Spot repair, single low area or rocking pavers | $400 to $1,200 |
| Sectional rebuild with new base and re-lay | $1,500 to $4,500 |
| Full paver driveway rebuild with new base | $6,000 to $18,000 |
These are estimates only, and the written estimate sets the final price. The step from spot repair to rebuild usually comes down to how much base is failing. One rocking paver on an otherwise stable driveway is a patch. A line of heaving pavers across a winter’s worth of settling usually means the base under that whole section needs to come up.
When you do rebuild, the material options matter. Denali Contractors works with Belgard, Unilock, Techo-Bloc, Tremron, and Cambridge Pavers, so you’re choosing from a real selection rather than a take-it-or-leave-it spec. Our technicians have up to 9 years of experience with base prep and grading on Westminster soils, which is where nearly all paver longevity is won or lost.
Common Mistakes to Avoid
- Sealing over a dirty or damp surface. The film won’t bond, and the first heavy rain lifts it off. Always clean and dry the surface fully first.
- Treating a base problem with a surface fix. Re-sanding and re-sealing the same failing spot every year costs more than fixing the base once.
- Using plain sand instead of polymeric sand in the joints. Plain sand washes out on the first heavy rain in this climate. Polymeric sand holds up longer and interlocks properly.
- Ignoring oil spots until they’ve been baked into the surface. Dry-season sun sets oil deeper into the paver, and old stains are much harder to fully remove before re-sealing.
- Skipping the post-rain inspection. Rain is the single best diagnostic tool you have. Puddles that show up after rain identify grading problems in a way that a dry surface can’t.
- Sealing while rain is in the forecast. Check the local forecast before applying. Sealer needs a dry window to bond and cure.
- Not extending the maintenance to the driveway edges. Erosion at the edges and against fences is where base failures most often start, and it’s easy to miss when you’re only focused on the surface.
See the difference
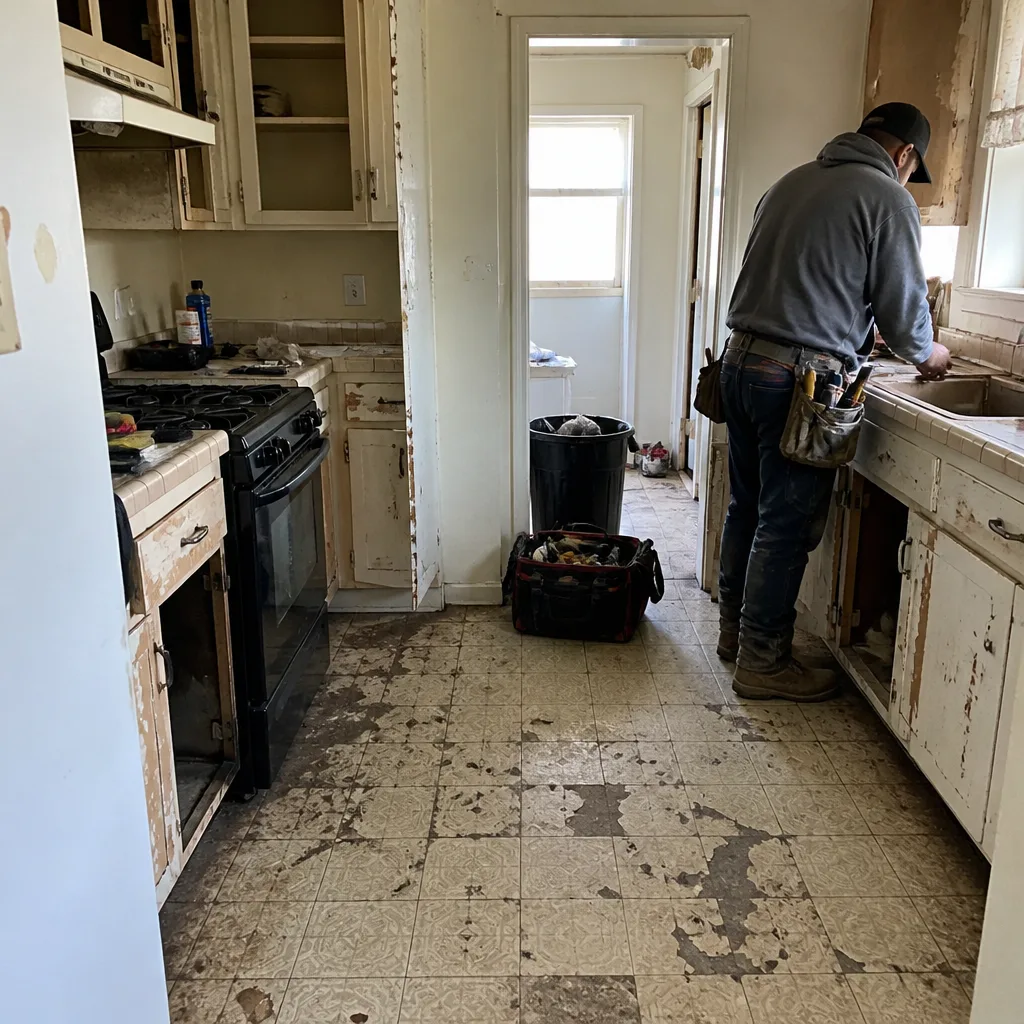 Before
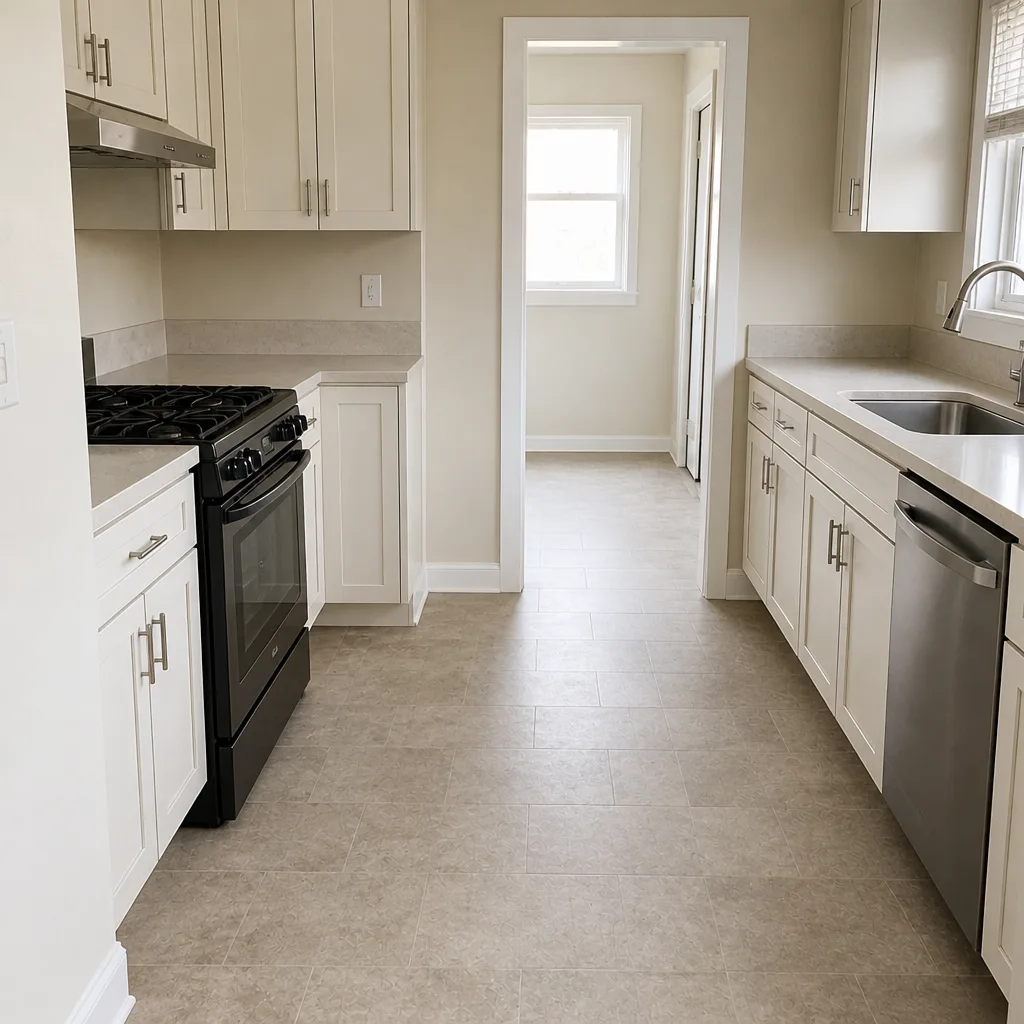 After
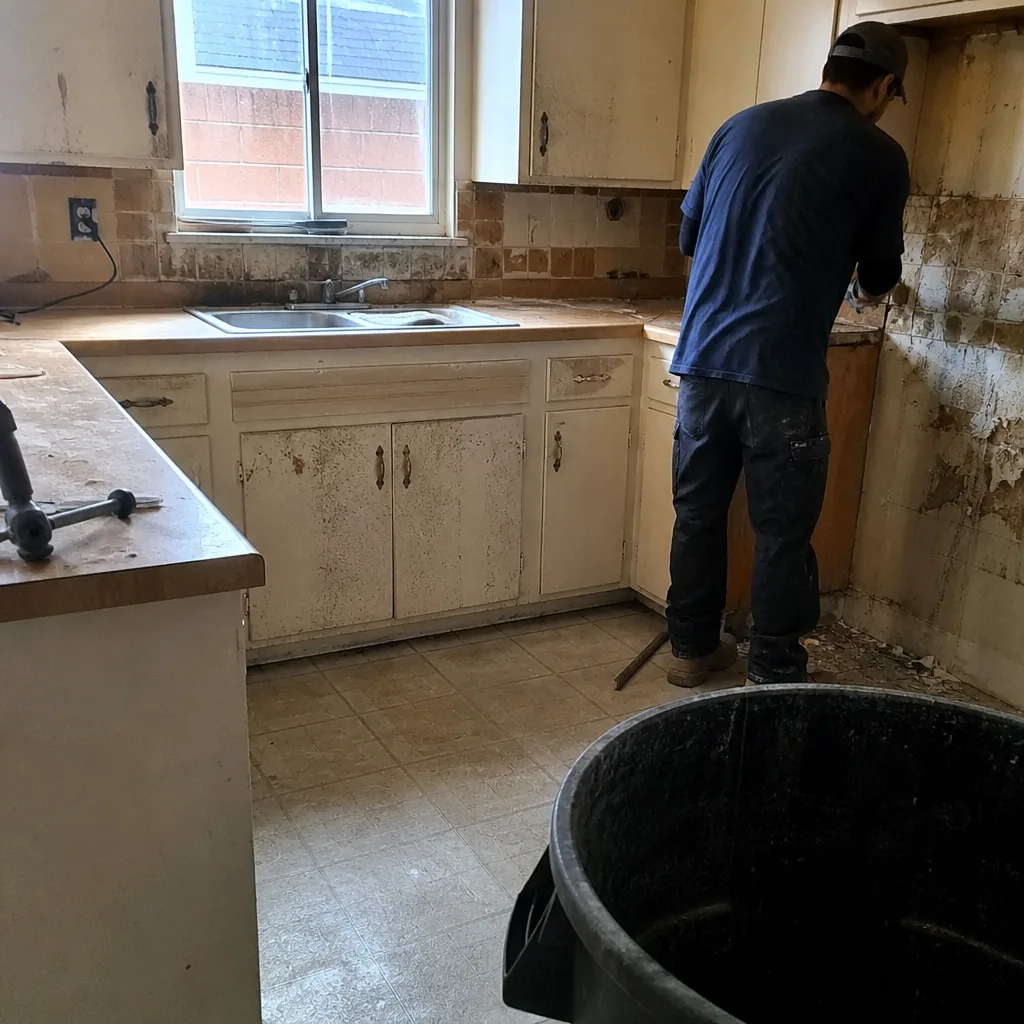 Before
 After
 Before
 After
When to Call a Professional
Some of this checklist is genuinely a homeowner task: walking the surface, blotting oil drips, and topping off joint sand. The professional line starts the moment you can’t tell whether the problem is surface or base, or when the symptoms point to drainage, grading, or foundation risk. If water is pooling against the house, if pavers are heaving across a line, or if a low spot keeps coming back no matter how many times you re-sand, it’s time to have it looked at properly. The same is true if you’re planning a larger exterior project and want to align pavers, grading, fences, and additions in one schedule. Denali Contractors offers free estimates in Westminster; call (833) 749-1562 and we’ll walk the property with you. We answer 24/7, and fast dispatch runs from 7am to 7pm, Sunday through Friday.
Frequently Asked Questions
Re-seal every 12 to 24 months for a driveway with full sun exposure, and check at the start of the dry season each year. Test by dripping water on the surface: if it beads, the sealer is still holding; if it soaks in, it’s due. The higher UV load in Westminster shortens the interval compared to national guidance. Call (833) 749-1562 for an exact quote on re-sealing, and estimates are free.
Base problems are uneven and structural: rocking pavers, heaving, joint erosion that lines up along the same stretch, and puddles that hold after rain. Surface wear is cosmetic and even across the whole driveway, and the surface stays flat and tight. If the same spot keeps failing after you fix the surface, the base is the cause. Call (833) 749-1562 to have us take a look, and estimates are free.
The dry season is the right window, before the UV peak and after the winter rains have settled. Sealer needs a fully dry surface and a dry forecast to bond, and applying it during a wet stretch wastes the product. Aim for the dry season on a stable forecast, then let the surface fully cure. Call (833) 749-1562 to schedule the work, and estimates are free.
Typical estimates run $250 to $600 for re-sanding a residential driveway, $350 to $900 for re-sealing, and $150 to $400 for oil spot treatment and cleaning. Spot repairs land in the $400 to $1,200 range, and a full driveway rebuild with new base typically runs $6,000 to $18,000. These are estimates and the written estimate sets the final price. Call (833) 749-1562 for an exact quote, and estimates are free.
No, the price is set by the written estimate before any work begins. Base problems that turn out to be worse than expected are the main reason a patio or driveway job changes scope, and we inspect the base before recommending a rebuild. You’ll see the line-item estimate before we start. Call (833) 749-1562 to get the estimate in motion, and estimates are free.
When water pools against the house or garage, when a low spot keeps coming back after every re-sand, or when pavers pull away from an edge, restraint, step, or wall, that’s a grading problem, not a paving one. Water is moving where it shouldn’t, and the fix involves re-compacting the base and adjusting the slope. Call (833) 749-1562 before it spreads to the foundation or fence line, and estimates are free.
The Bottom Line
Westminster driveways fail on a schedule most homeowners don’t expect, driven by UV exposure, alkaline soil, and oil pooling rather than rainfall alone. The fix isn’t a longer maintenance list, it’s a smarter one: inspect before the dry season, treat oil early, re-sand and re-seal inside the dry window, and read the difference between surface wear and base failure before you spend anything. Catch it in the right season and a paver driveway holds up for years. Miss it and you’ll rebuild a base that was fine when you started. One contractor, every corner of the property, from the driveway to the roofline, and material choice across the brands you already trust.
Call (833) 749-1562 to schedule a free estimate. We answer 24/7. Fast dispatch from 7am to 7pm, Sunday through Friday.
Written by the team at Denali Contractors.